Assembly without magnets
To assembly nanosaur without any magnet, you can follow the same instruction on Assemby taking care to to some extra steps for body and head.
You need extra screws (Check Bill of Materials)
Power Bank holder
Follow the same steps in Motors block WITHOUT stick any magnet.
![]() Hint To simplify the assembly, dry-fit of all screws after 3D print
Hint To simplify the assembly, dry-fit of all screws after 3D print
The output will be like the picture below:
Body
Follow the same steps in Motors block WITHOUT stick any magnet.
![]() Hint To simplify the assembly, dry-fit of all screws after 3D print
Hint To simplify the assembly, dry-fit of all screws after 3D print
The output will be like the picture below:
Head
Follow the same steps in Head WITHOUT stick any magnet.
The output will be like the picture below:
Dry fit cover holes
The cover printed has for each side magnet hole another pilot drill hole to drive your M2 screw and make a hole on the cover. Screw it, like the picture below, to dry-fit for the Assembly step.
Full Assembly
These steps are different compare the default assembly, take all screws and follow the instructions below.
Assembly cover
| Quantity | Part |
|---|---|
| 1 | Body |
| 1 | Head |
| 1 | Hex M2 14mm |
| 2 | Hex M2 6mm |
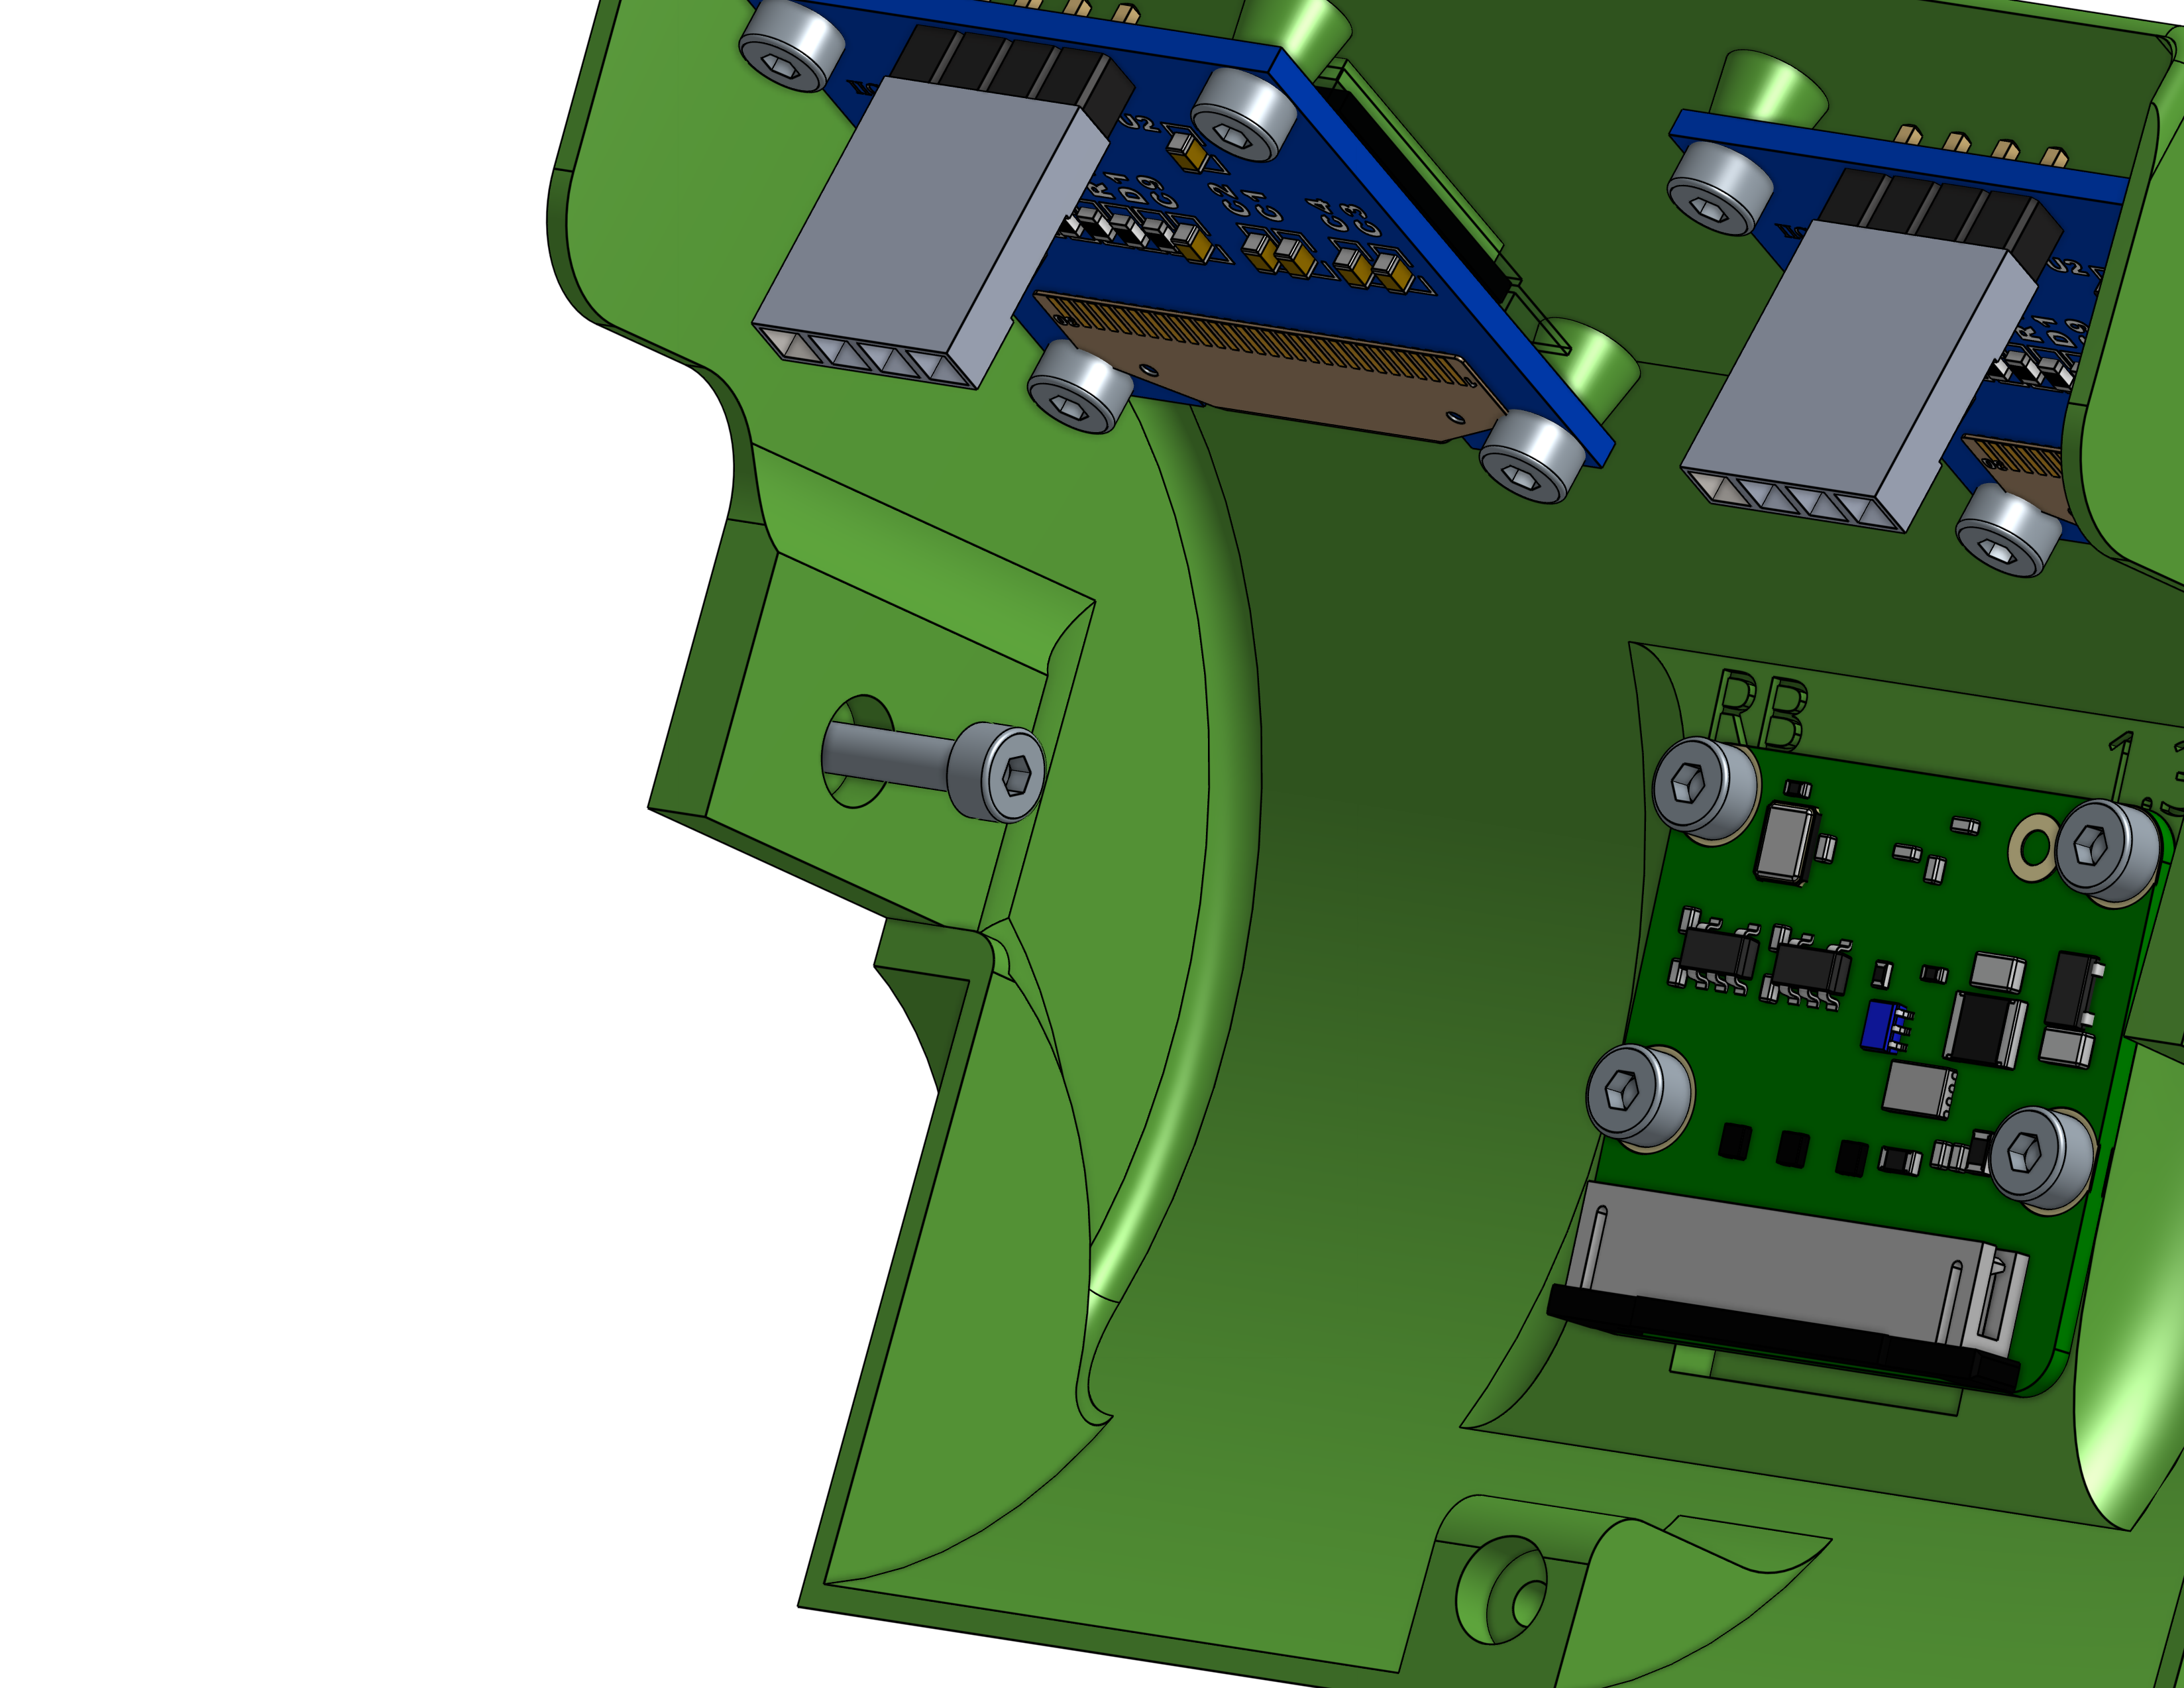
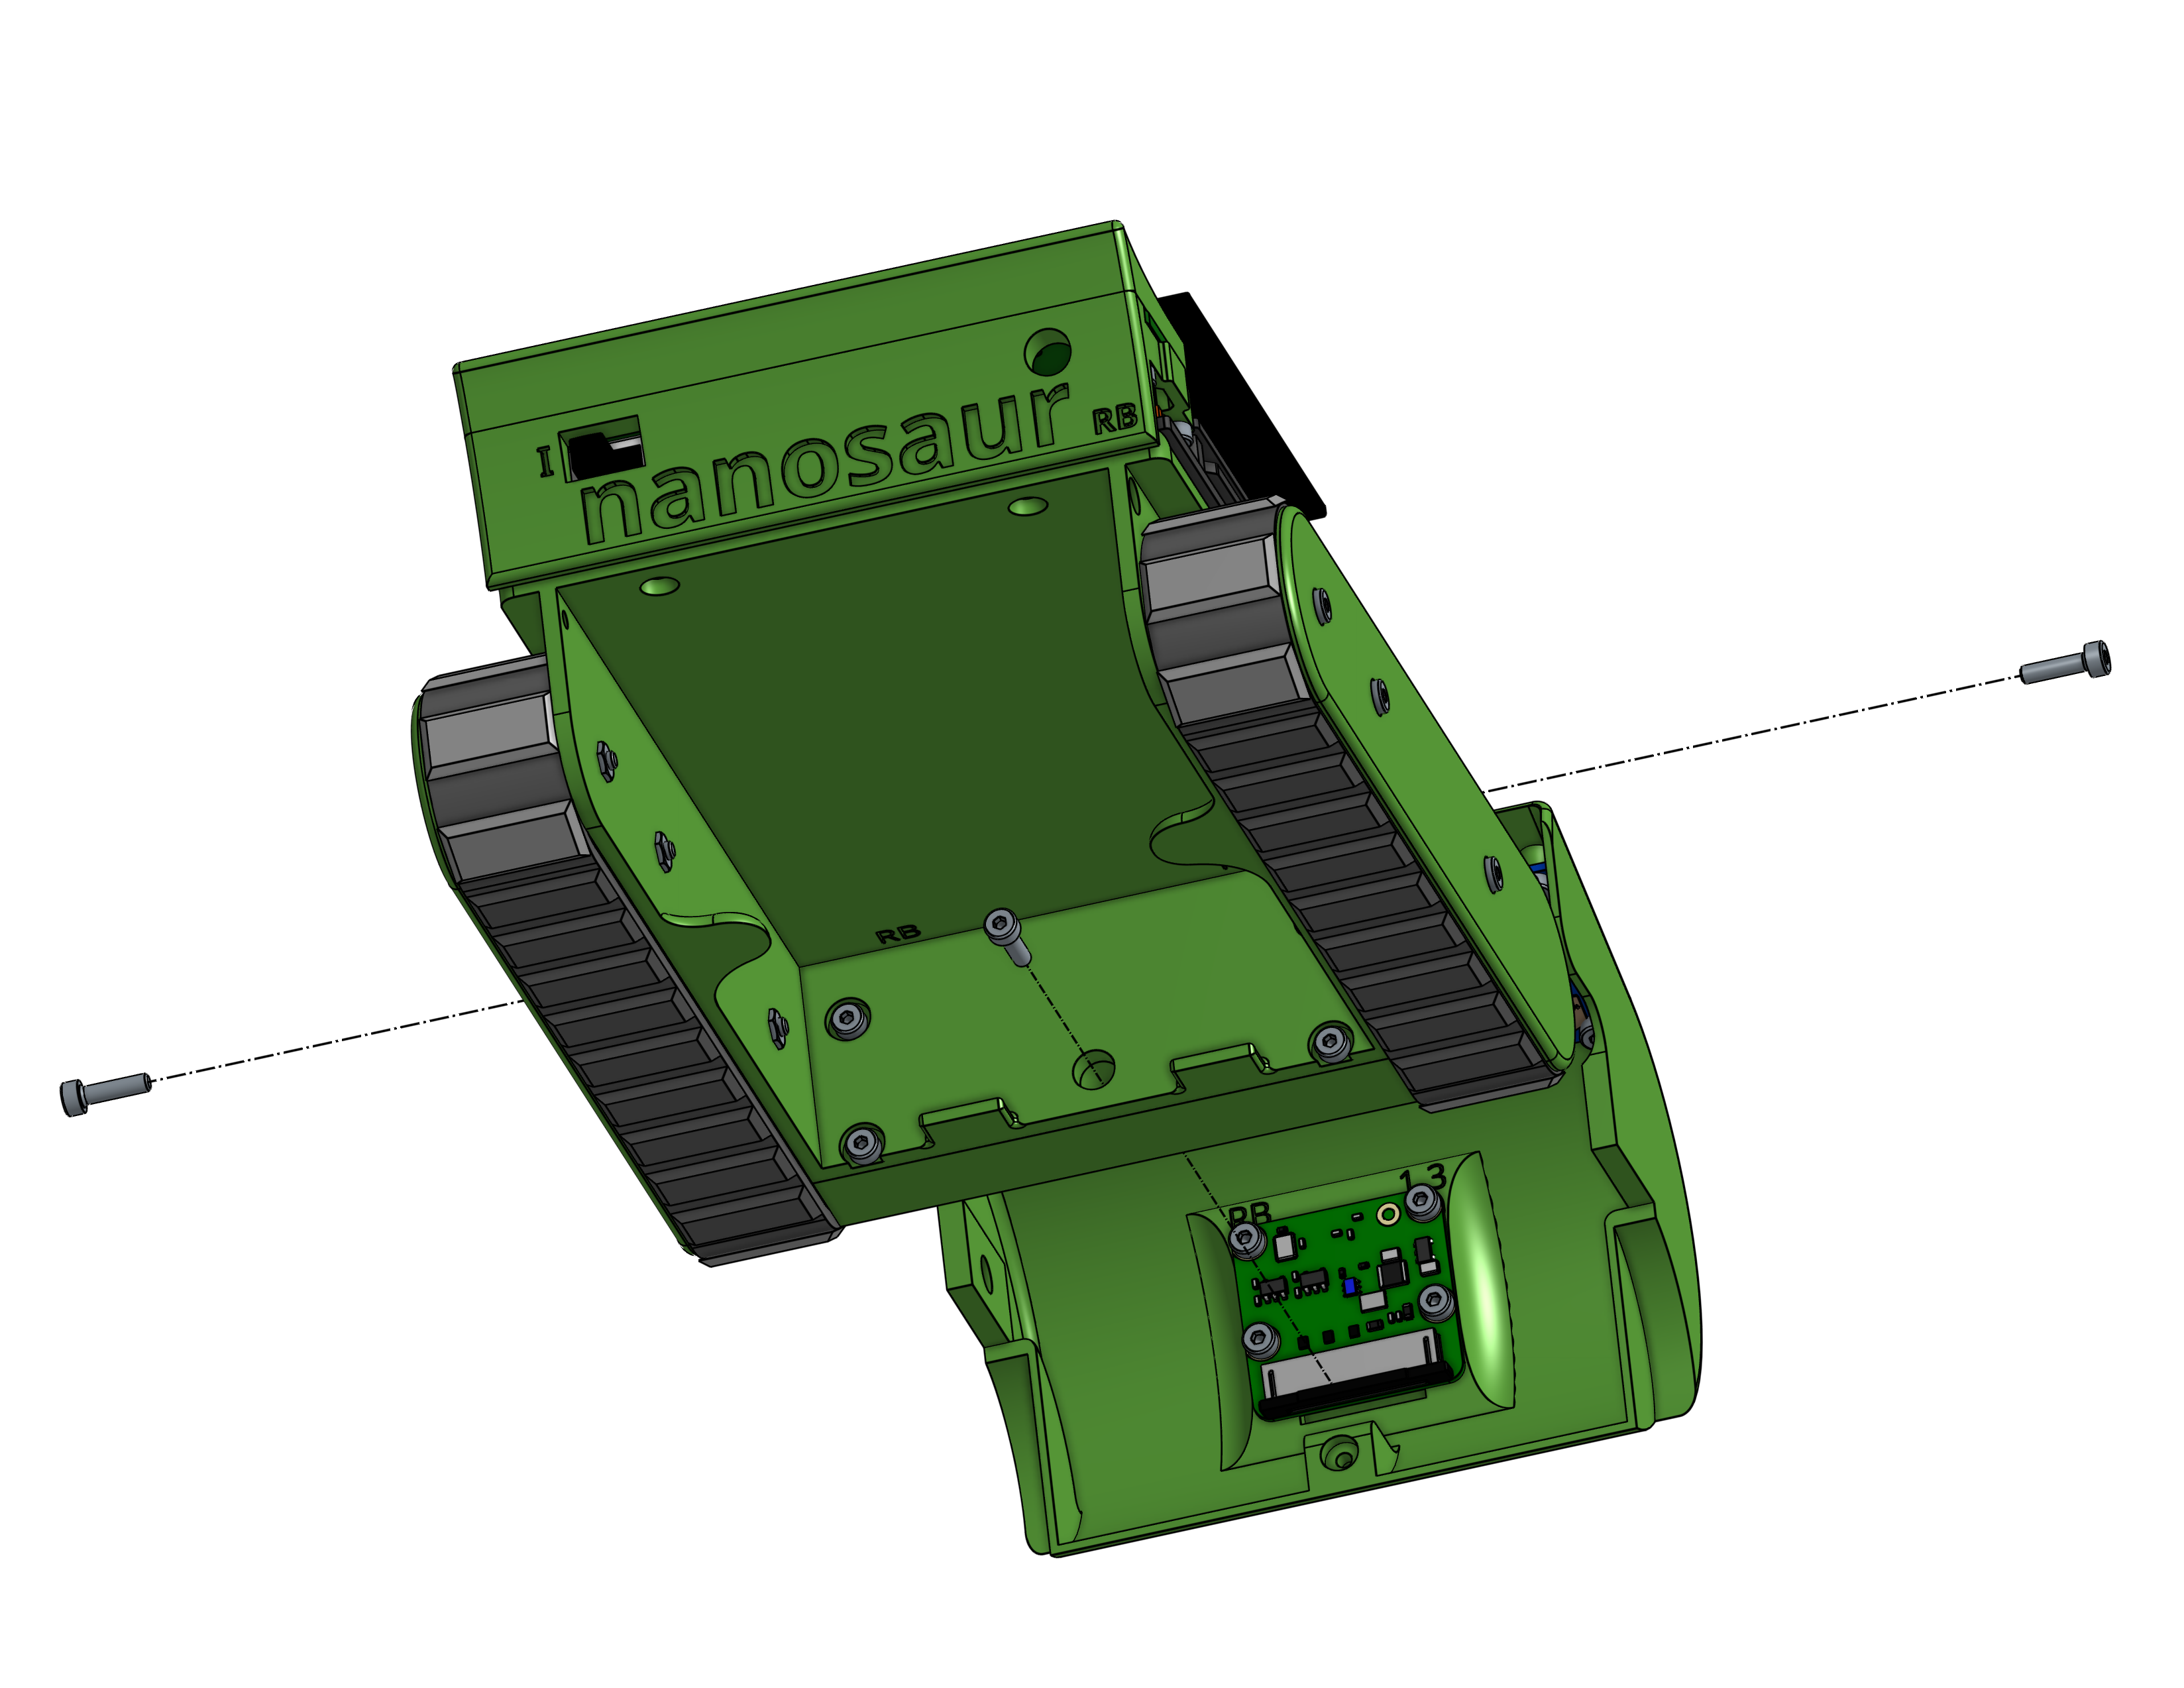
- Screw two Hex M2 6mm on the cover side
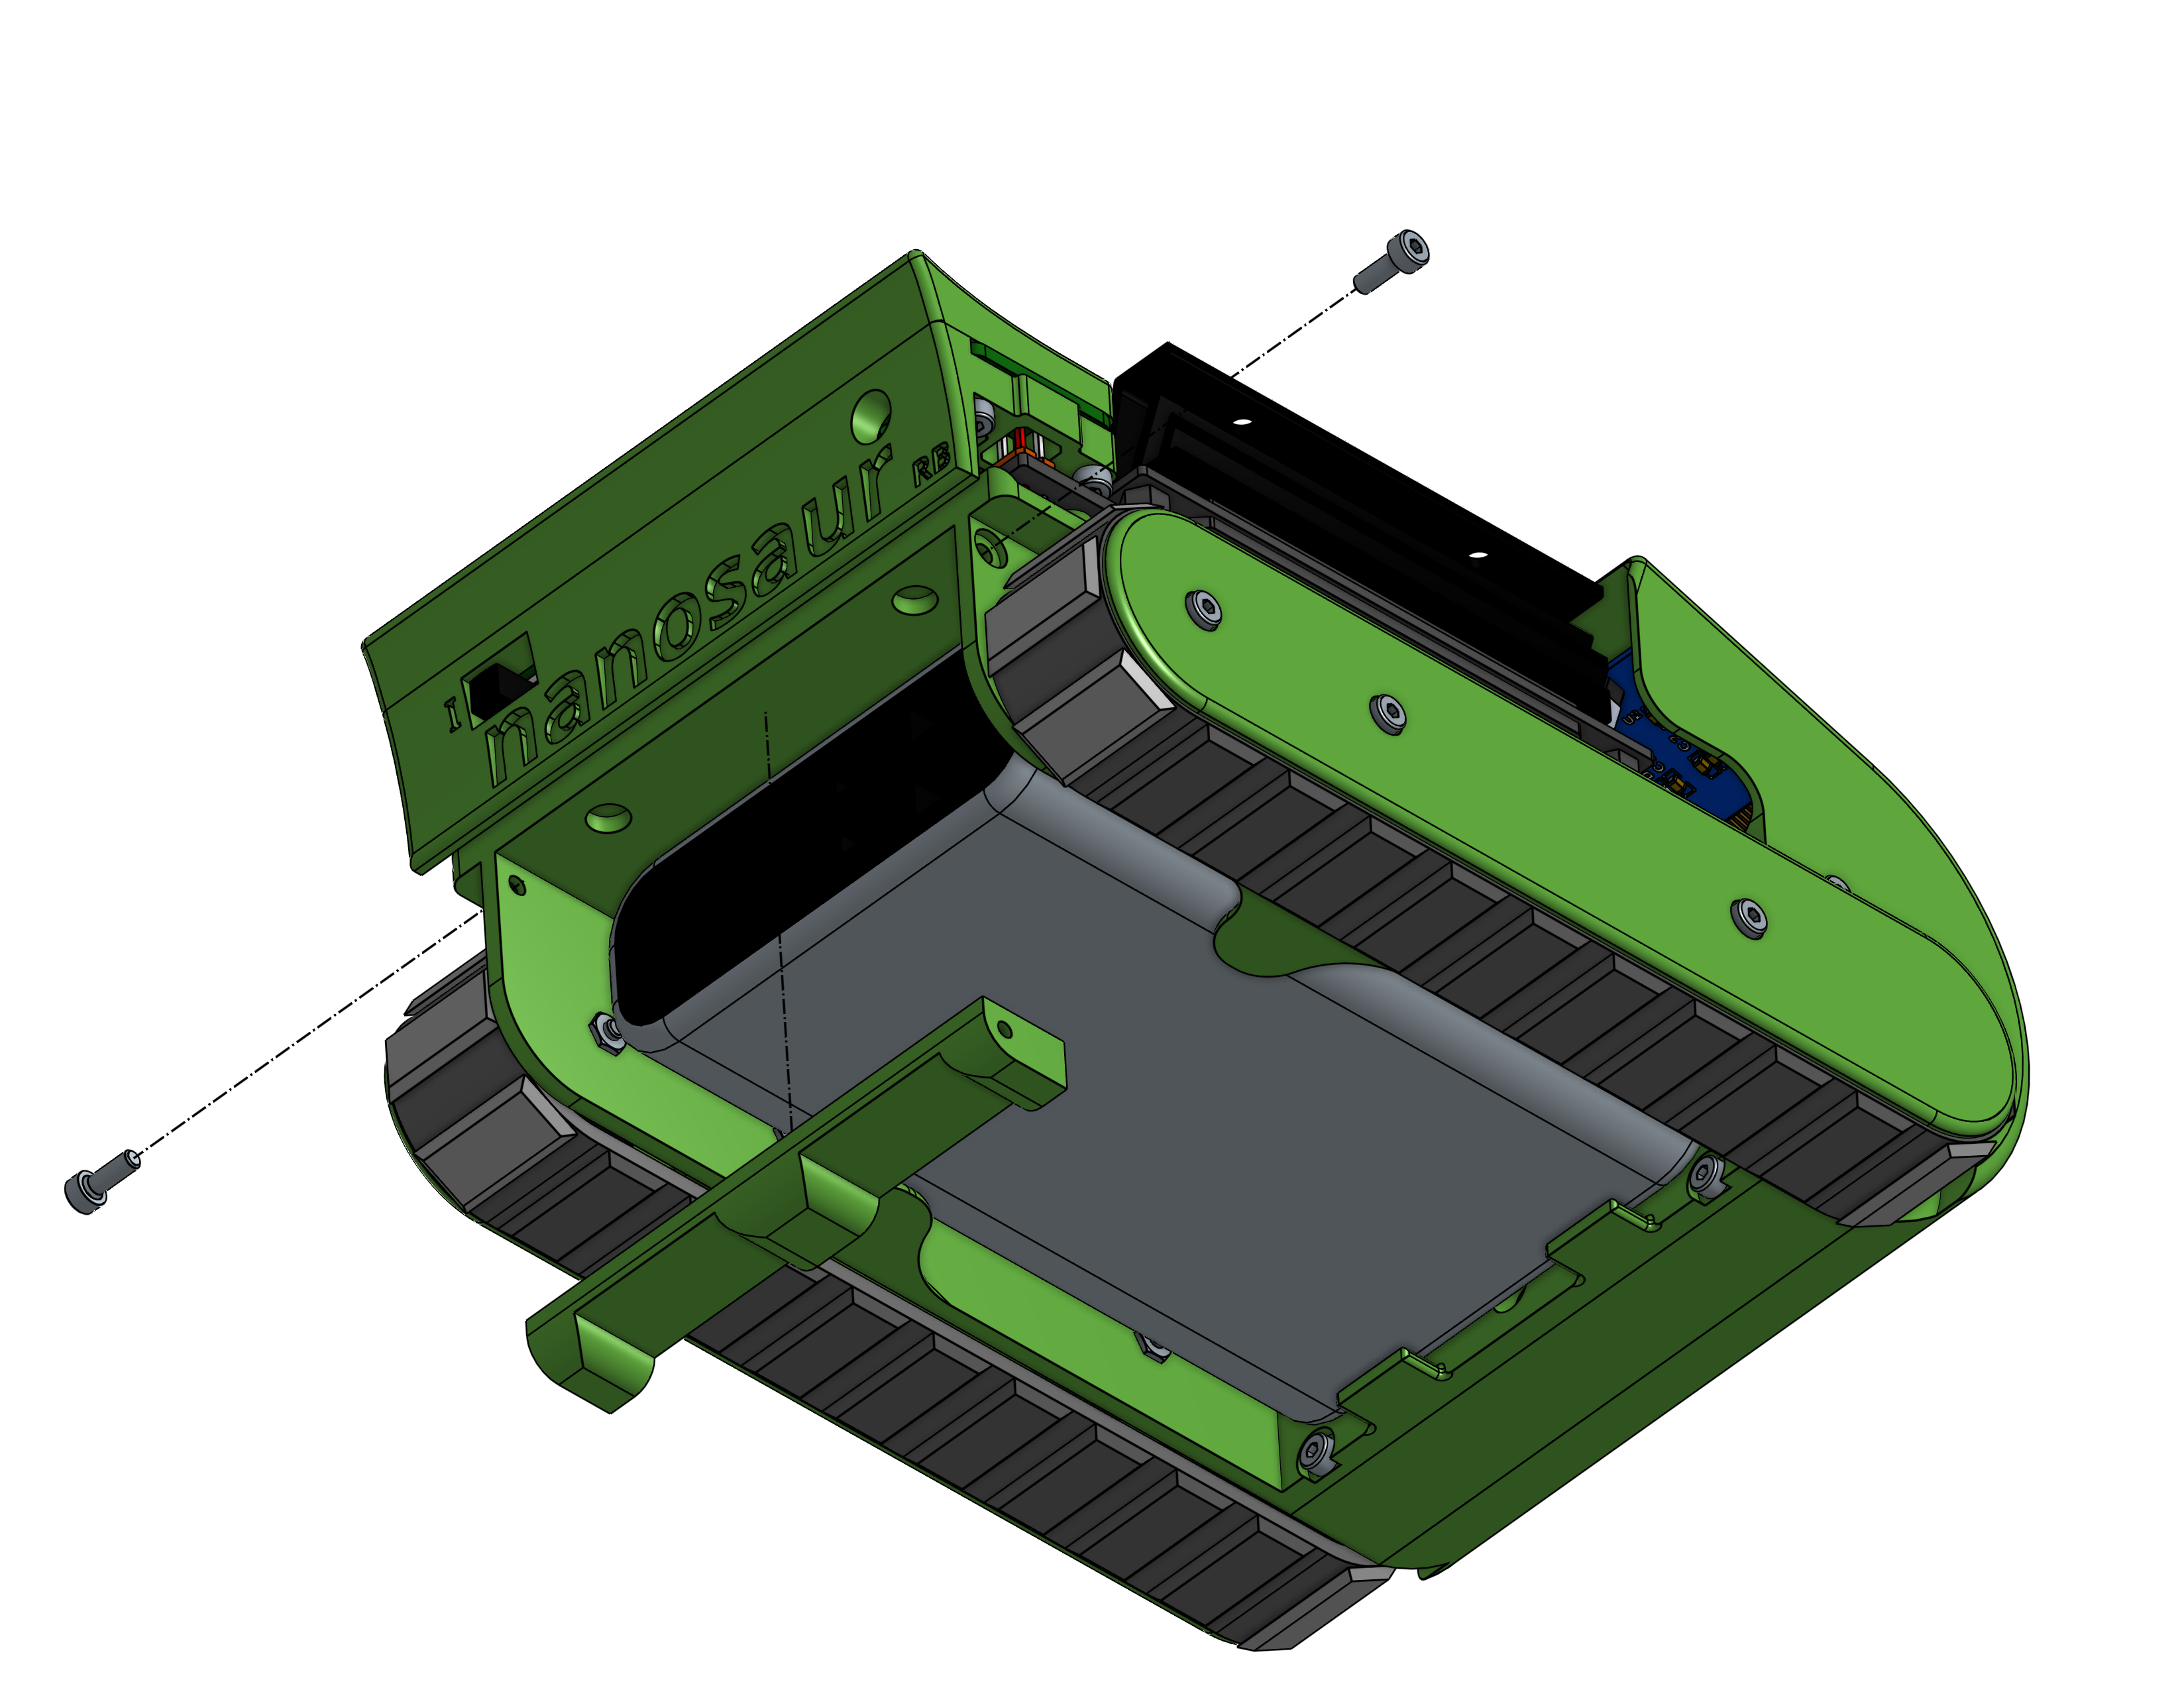
- Screw Hex M2 14mm from the rear part of nanosaur to the cover
The result will be like the picture below:
Assembly power bank holder
| Quantity | Part |
|---|---|
| 1 | Body |
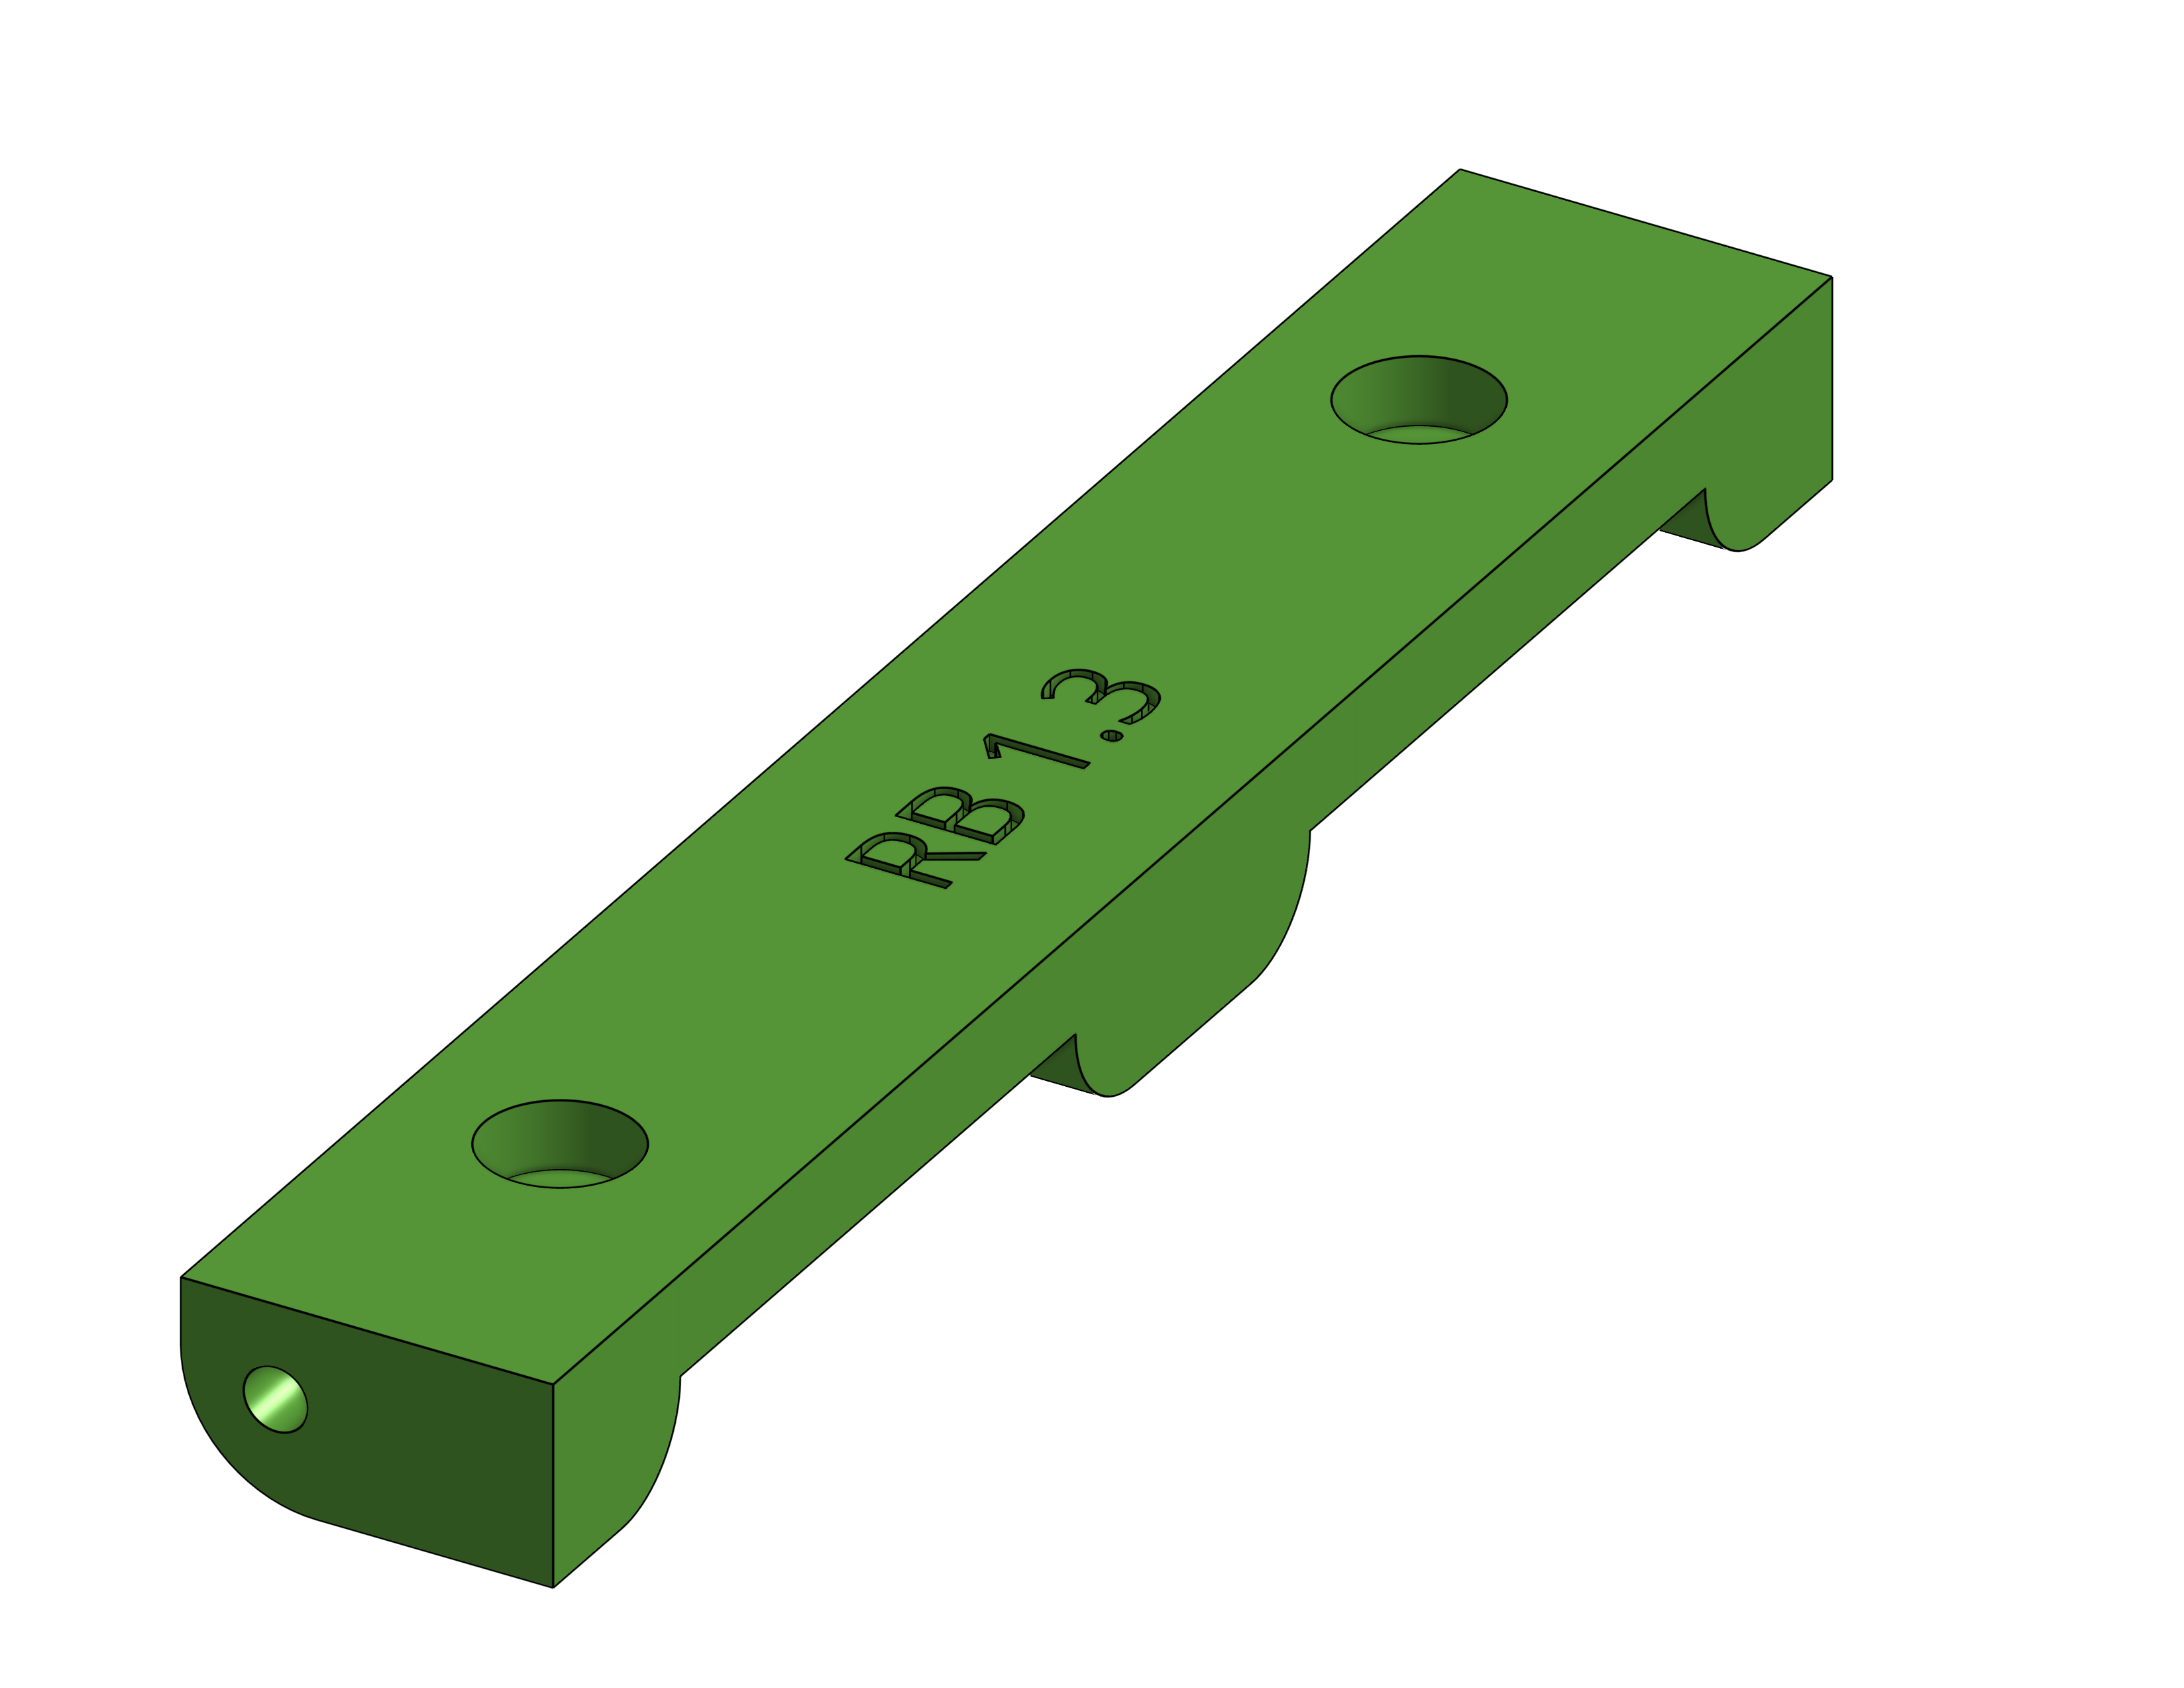
| 1 | Power Bank holder |
| 2 | Hex M2 6mm |
Screw two Hex M2 6mm on the nanosaur tracks side to hold the power bank holder.
The result will be like the picture below: