Electronics
In this page we will soldering the motor control and motors and will take a look of the Nanosaur wiring.
Adafruit assembly
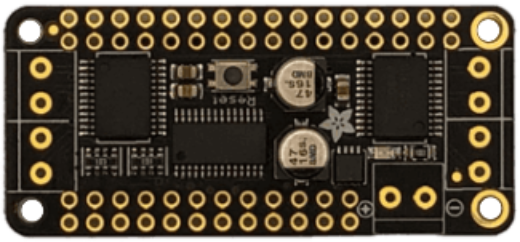
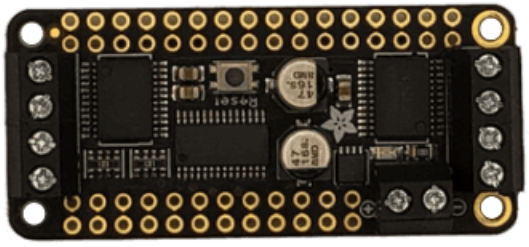
We should wire the DC Motor + Stepper FeatherWing Add-on following the picture below:
- Soldering all XT connectors
- Solder the electronic power at the end of the first row
- Solder the I2C connector on the second row
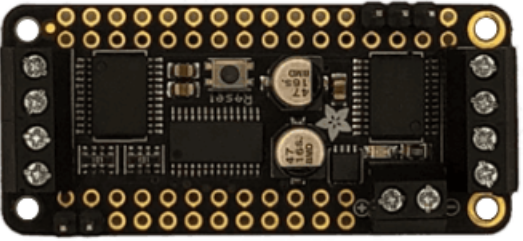
The pinout of the DC Motor + Stepper FeatherWing Add-on will be the picture below
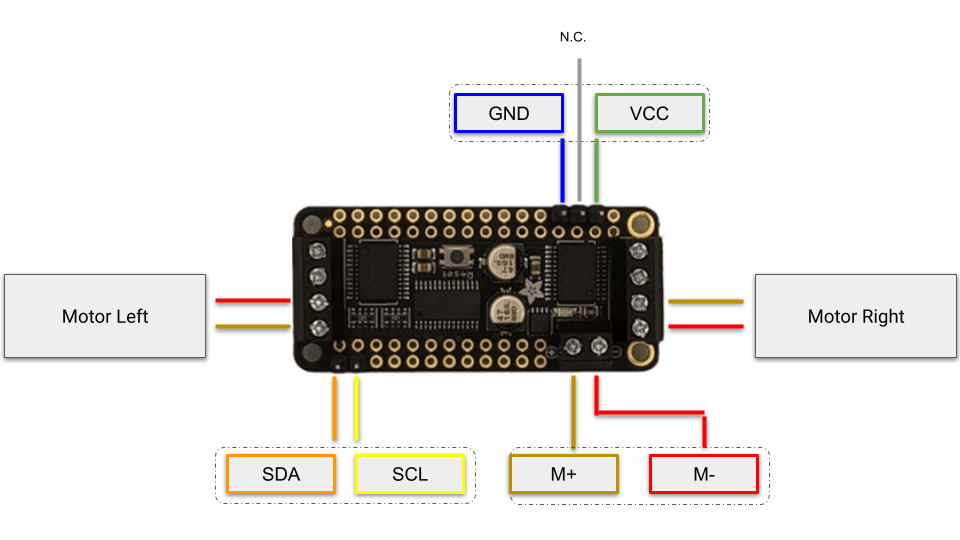
Motor wiring
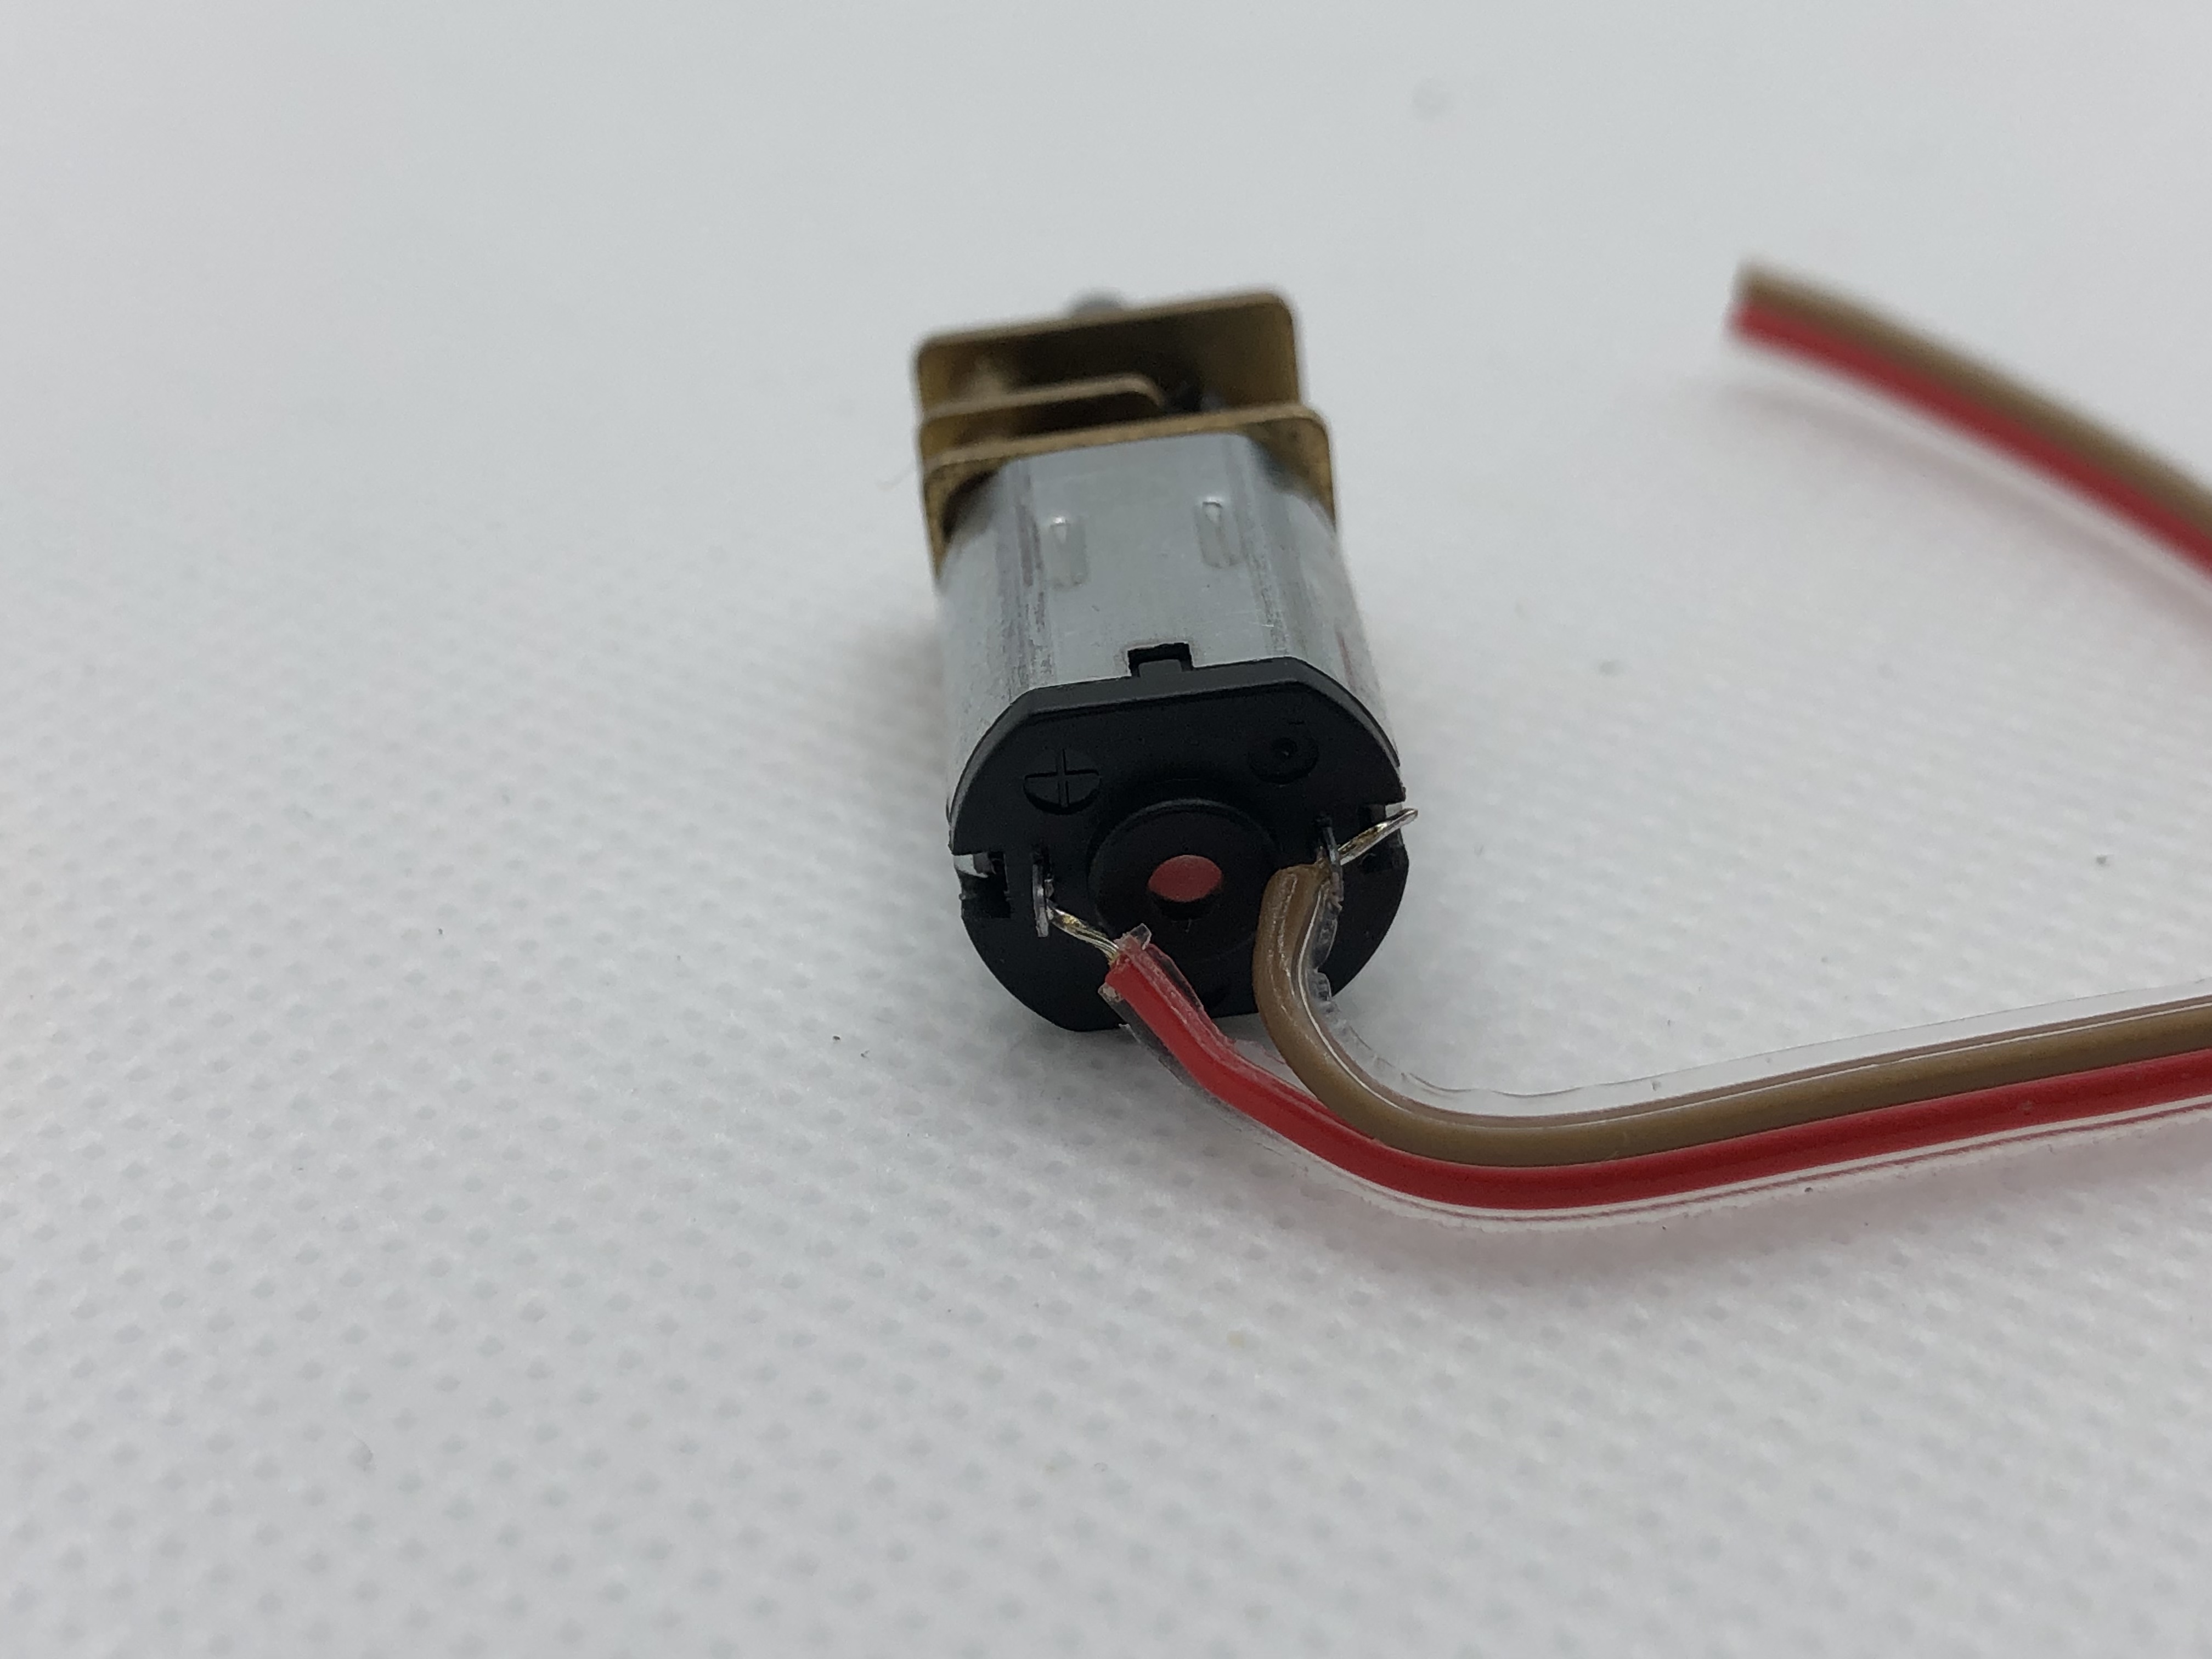
To soldering the motors you need to pay attention to the (+) symbol on the rear motor cover. You can wire the motors use a part of the 30cm flat ribbon cable that you use to assembly the Nanosaur expansion board PCB
| Symbol | Color | Length |
|---|---|---|
| + | red | 90mm |
| brown | 90mm |
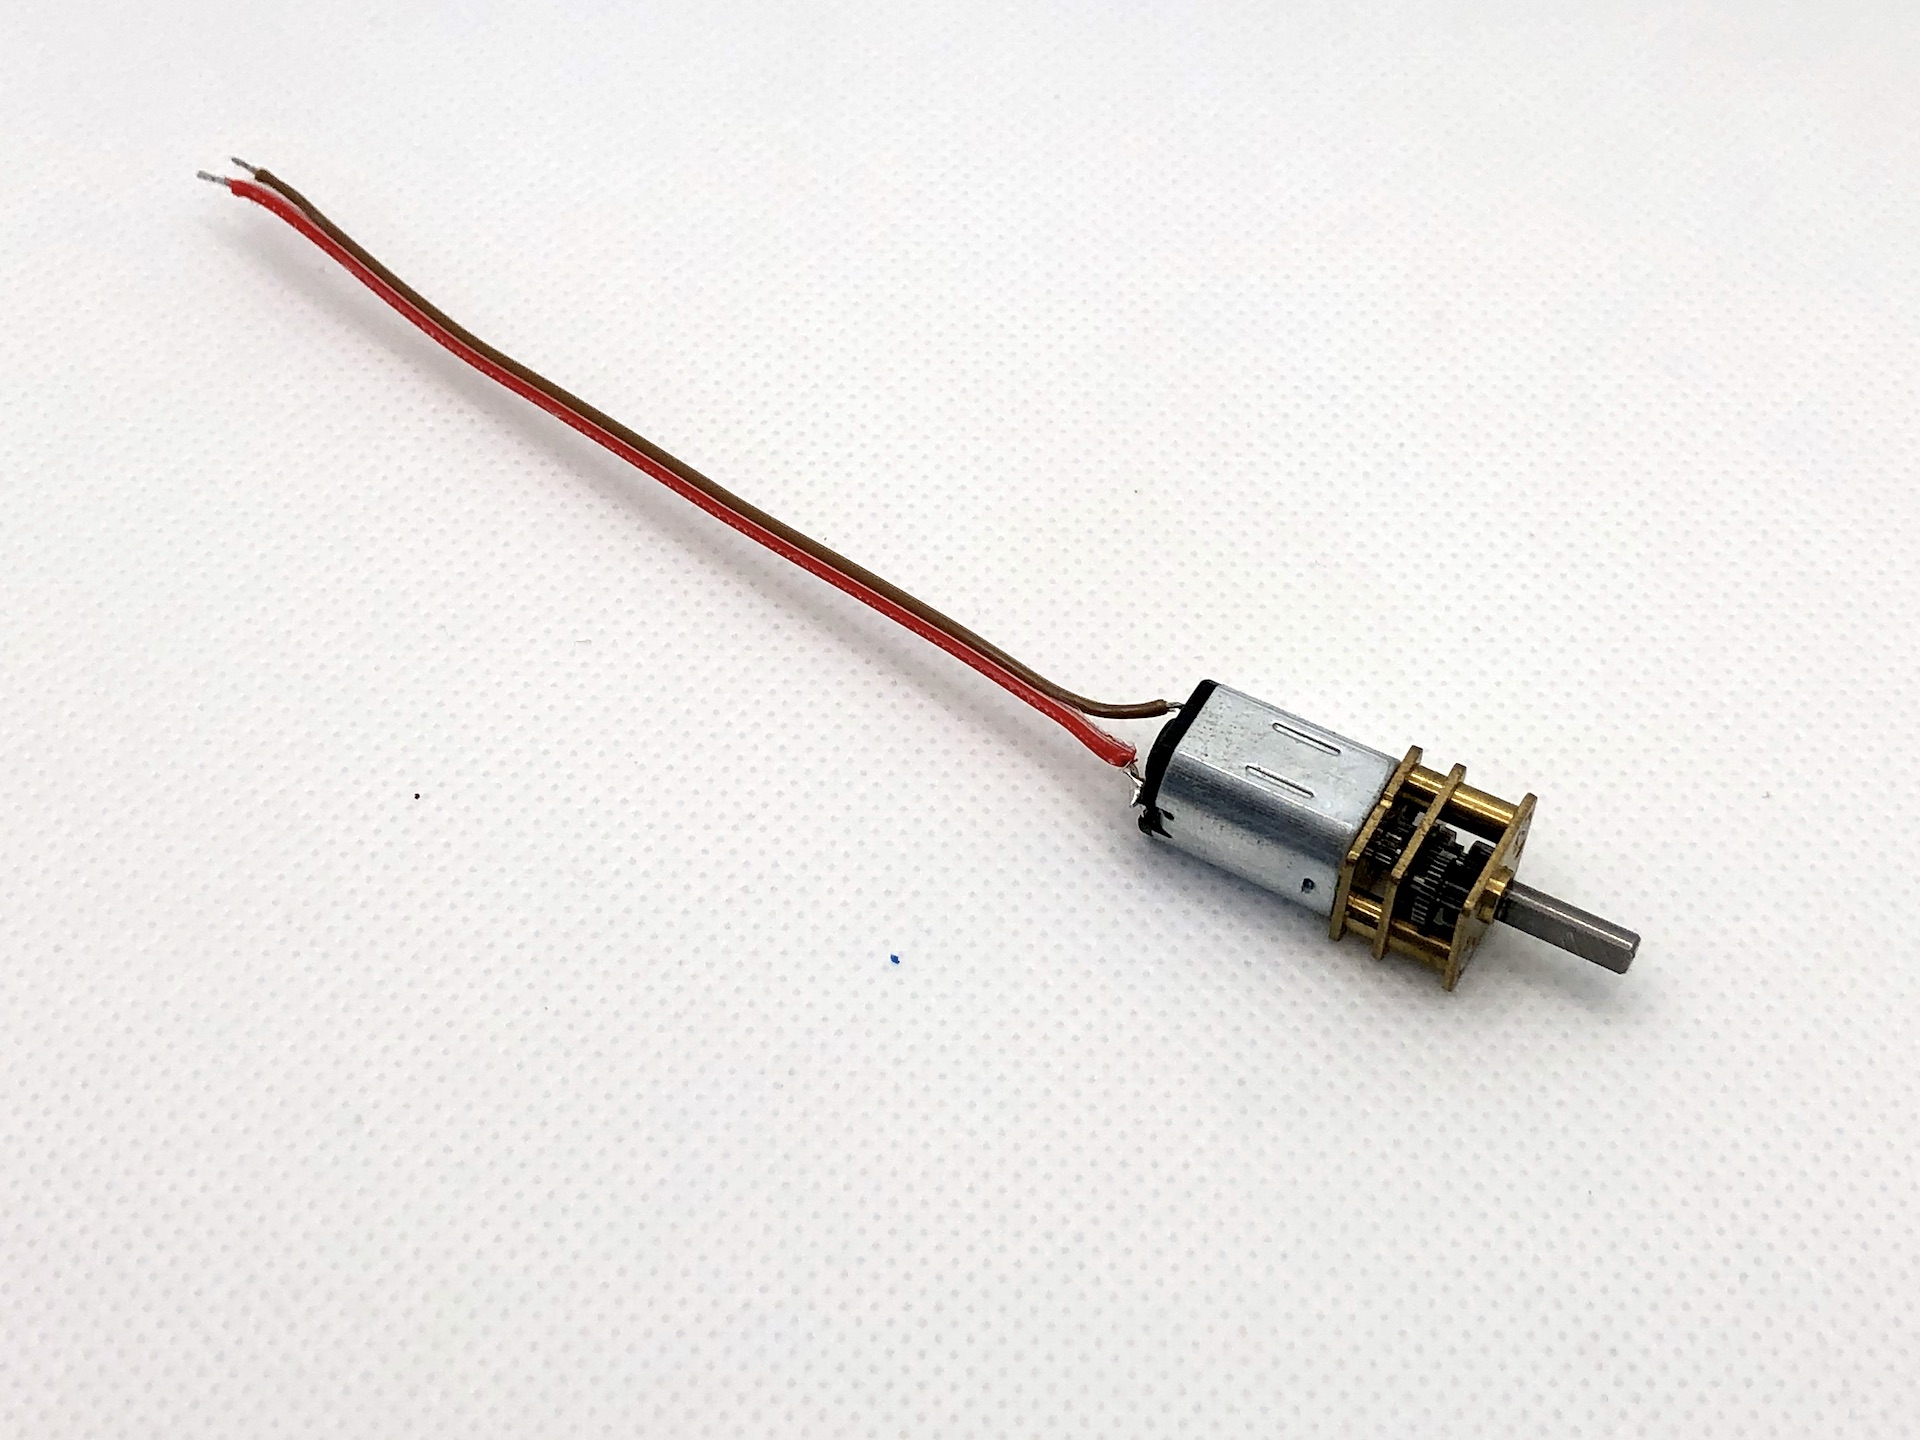
The motor will look like the last picture in this gallery
Nanosaur wiring
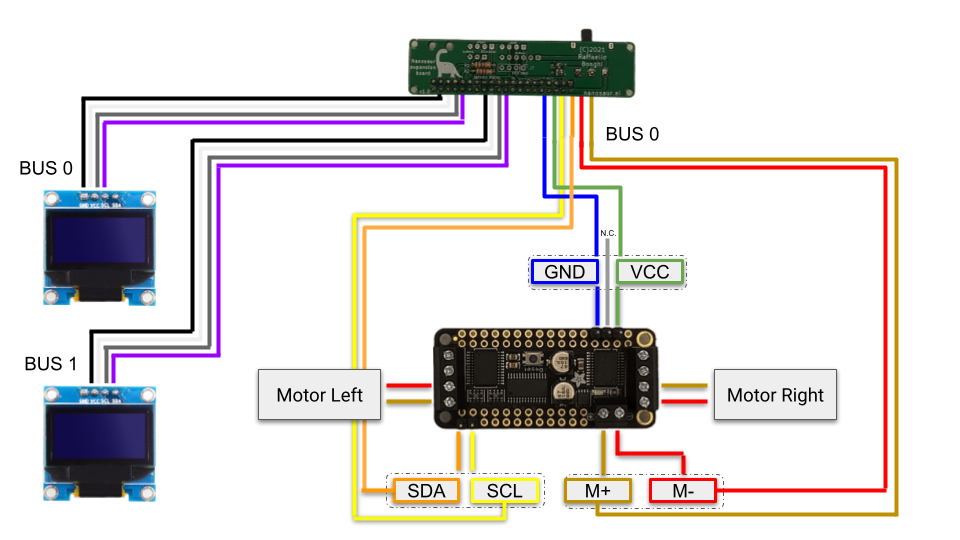
The nanosaur expansion board connect the NVIDIA Jetson Nano to the Adafruit DC Motor + Stepper FeatherWing Add-on and two oled I2C Display 128x64px 0.96 inch. Following this bullet list
- I2C bus 0 (Pin 27, 28)
- oled right
- I2C bus 1 (Pin 3, 5)
- oled left
- adafruit motor control
- 2 custom buttons
- GPIO Pin 31
- GPIO Pin 33
A schematic output has this output:
