Run nanosaur with gz-omni connector
If you want to work with the gz-omni connector you need to install some extra steps on your desktop
Install
before to follow this tutorial, install nanosaur simulators!
The gz-omni connector use:
- Ignition Gazebo - Edifice
- NVIDIA Isaac SIM
- gz-omni connector
Follow the instruction below to install Ignition Gazebo (not default simulator for ROS 2) and in another terminal install the gz-omni connector
Install Ignition Gazebo - Edifice
GZ-omni works with only with Ignition Gazebo - Edifice. You need to install on your desktop this Ignition Gazebo version following the lines below
sudo apt update
sudo apt install python3-pip wget lsb-release gnupg curl
sudo sh -c 'echo "deb http://packages.ros.org/ros/ubuntu $(lsb_release -sc) main" > /etc/apt/sources.list.d/ros-latest.list'
curl -s https://raw.githubusercontent.com/ros/rosdistro/master/ros.asc | sudo apt-key add -
sudo apt-get update
sudo apt-get install python3-vcstool python3-colcon-common-extensions
sudo apt-get install git libfreeimage-dev

sudo apt-get install ignition-edifice
Compile gz-omni
We need to compile some Ignition packages from source with a specific flag due the omni-client library.
To compile this libraries you should run:
mkdir -p ~/ign-omni/src
cd ~/ign-omni/src
git clone https://github.com/ignitionrobotics/ign-omni-meta
vcs import . < ign-omni-meta/repos.yaml
cd protobuf
git -C . apply ../ign-omni-meta/protobuf-cmake.patch
cd ~/ign-omni
colcon build --merge-install --event-handlers console_direct+ --packages-select protobuf
cp src/ign-omni-meta/colcon.meta .
colcon build --merge-install --event-handlers console_direct+ --packages-up-to ignition-omniverse1
You can ignore the following message:
WARNING:colcon.colcon_cmake.task.cmake.build:Could not run installation step for package 'ignition-omniverse1' because it has no 'install' target
Run gz-omni Connector
There are three steps to do:
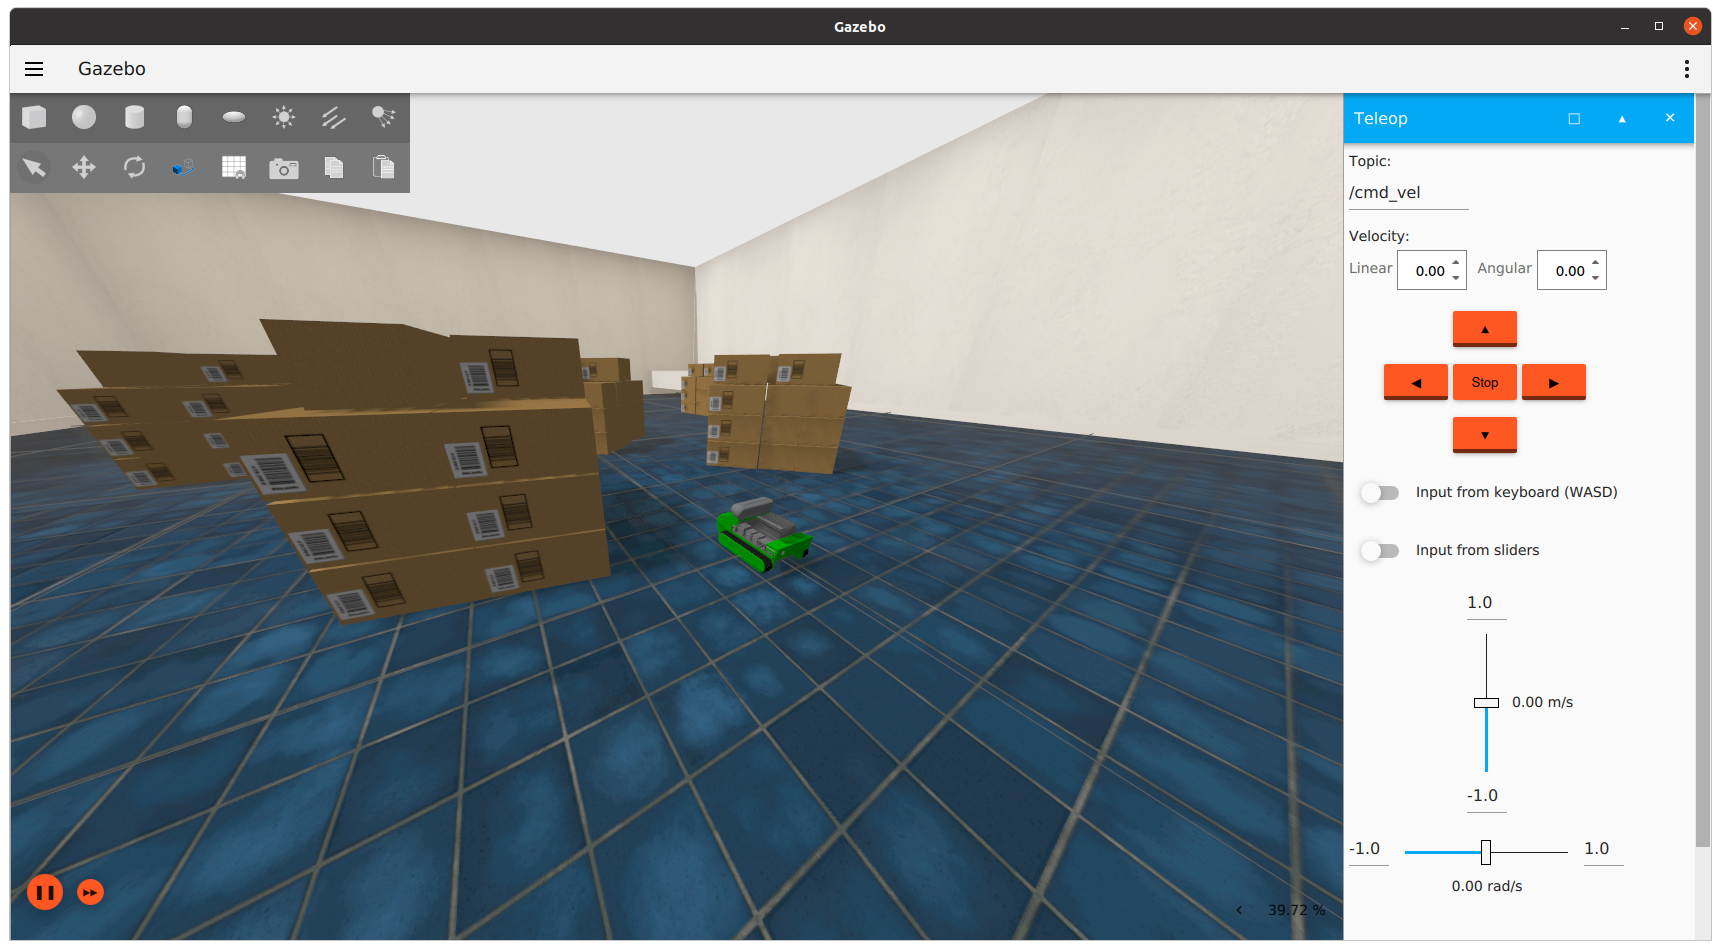
Run Ignition Gazebo in a terminal
Open your first terminal and run Ignition Gazebo
source nanosaur
ros2 launch nanosaur_ignition ignition.launch.py
When the simulator is running you will see a window like below
Run gz-omni connector
Now it’s time to start the gz-omni connector:
export IGN_GAZEBO_RESOURCE_PATH="/opt/ros/foxy/share:$HOME/nanosaur_core/install/share"
source ~/ign-omni/install/setup.bash
cd ~/ign-omni/src/ign-omni
reset && bash run_ignition_omni.sh -p omniverse://localhost/Users/nanosaur/nanosaur.usd -w lab -v --pose ignition
How is it works the last line?
bash run_ignition_omni.sh -p omniverse://localhost/Users/<USER_NAME>/nanosaur.usd -w <WORLD> -v --pose <TYPE_POSE>
- USER_NAME: the user name chosen in NVIDIA nucleus server
- WORLD: The world name is running on the Ignition Gazebo simulation, if you want to change follow the Ignition tutorial
- TYPE_POSE: Which simulator will handle the poses {ignition, isaacsim}
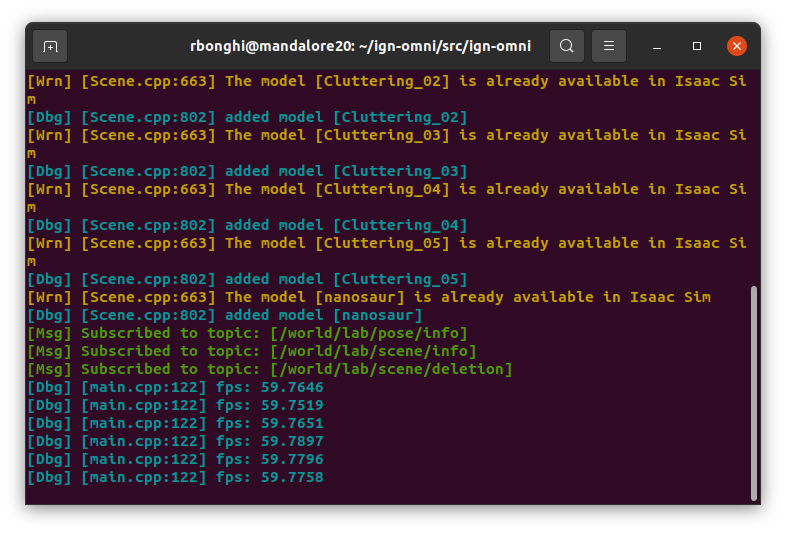
if you see a line like this [Dbg] [main.cpp:122] fps: 59.7457 the connector is working properly
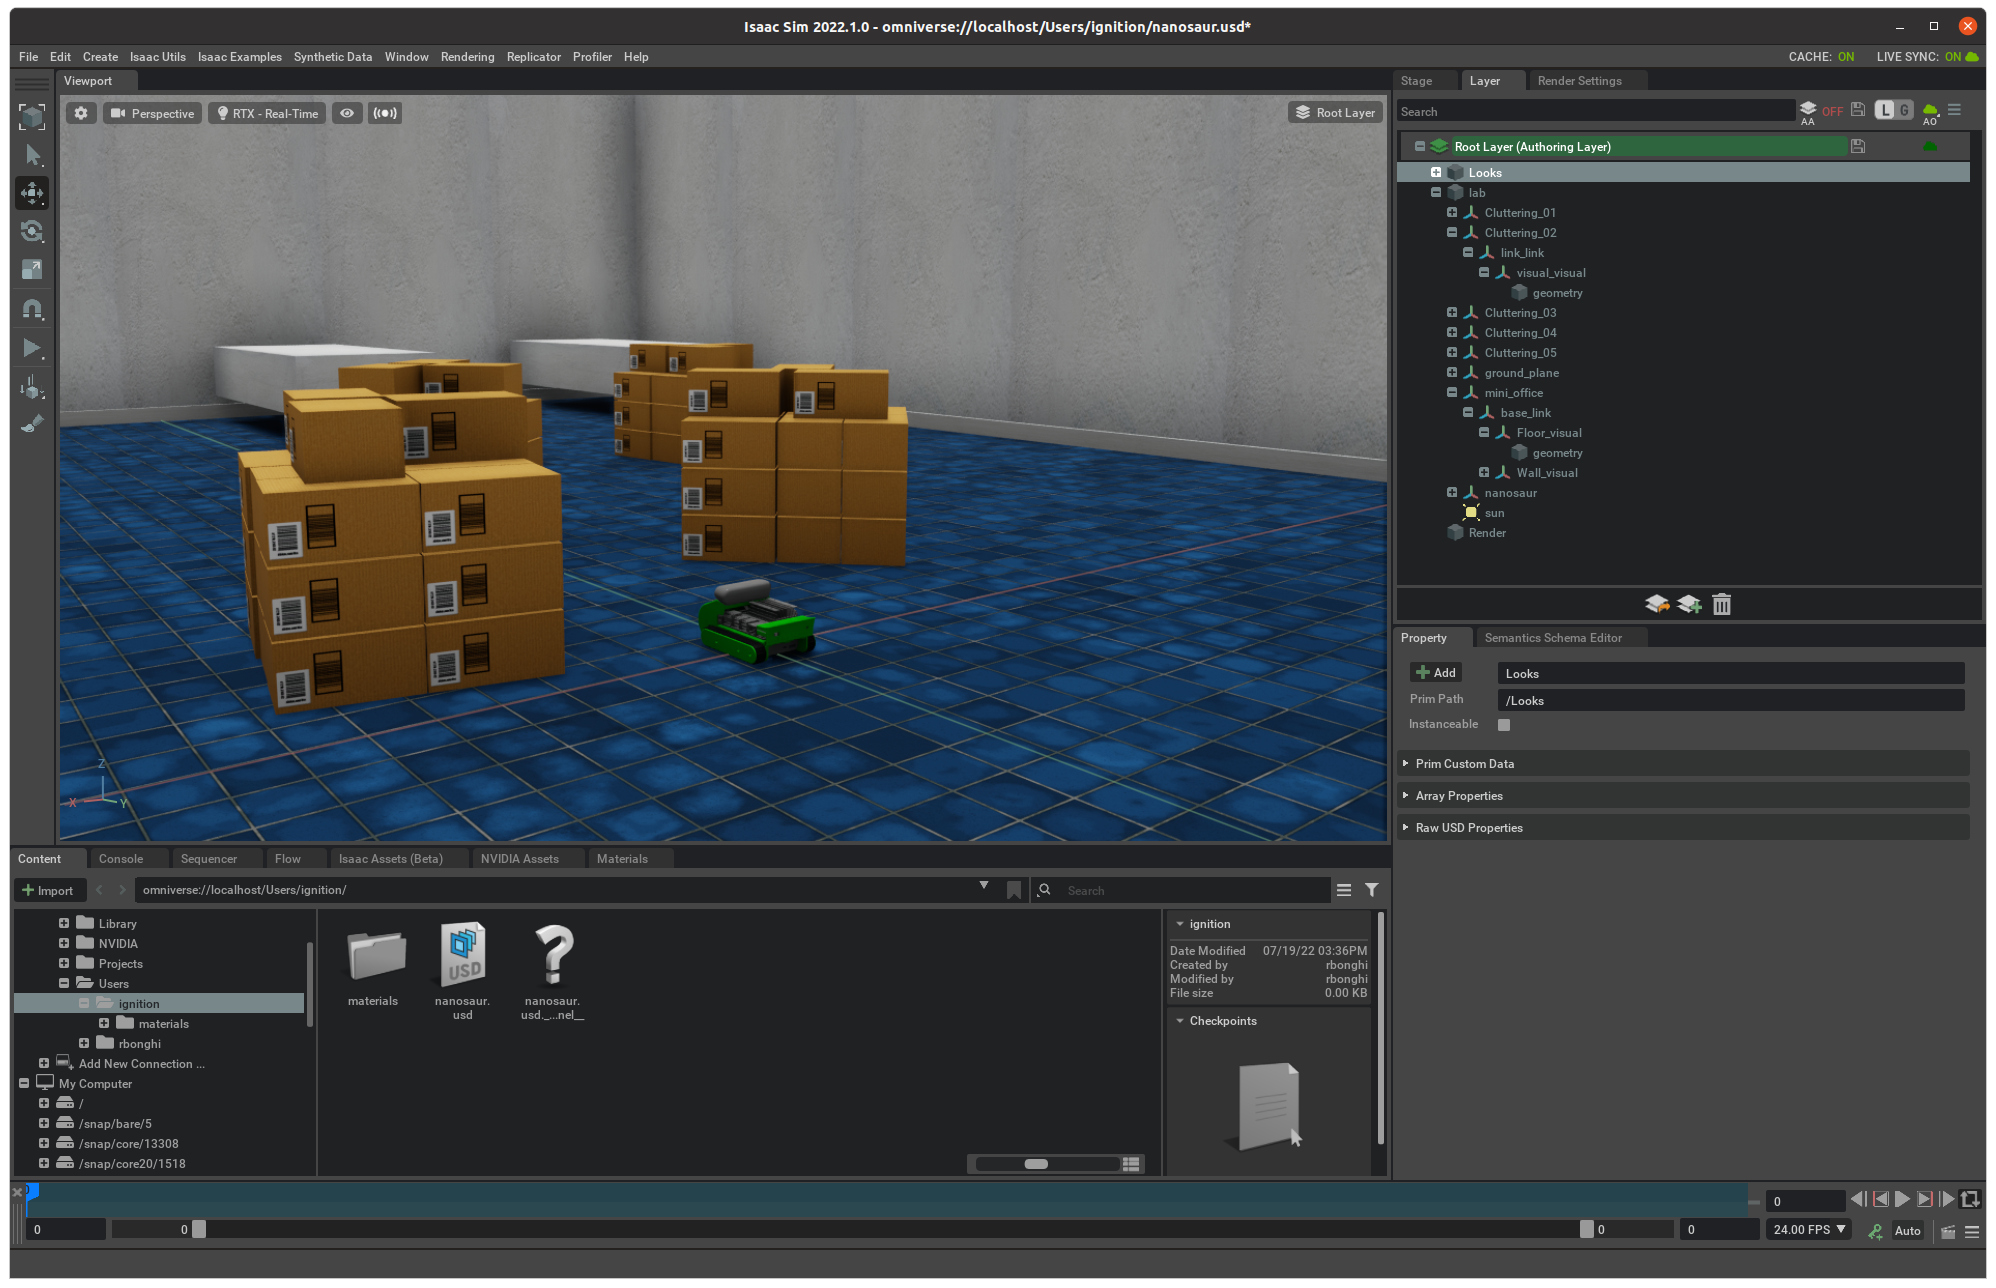
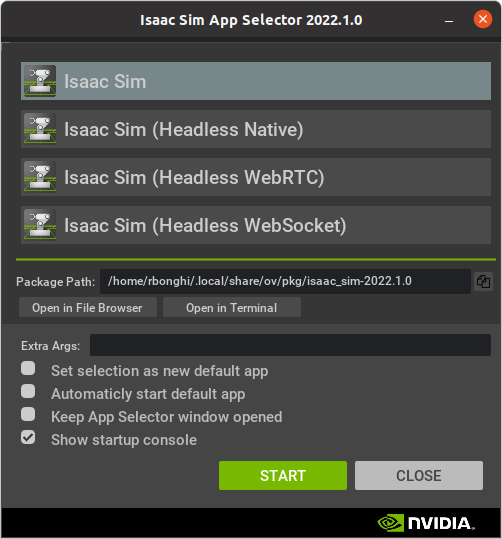
Run NVIDIA Isaac SIM
First stage you need to start NVIDIA Isaac SIM, pressing the button “START” on the Isaac Sim App Selector, like the picture below
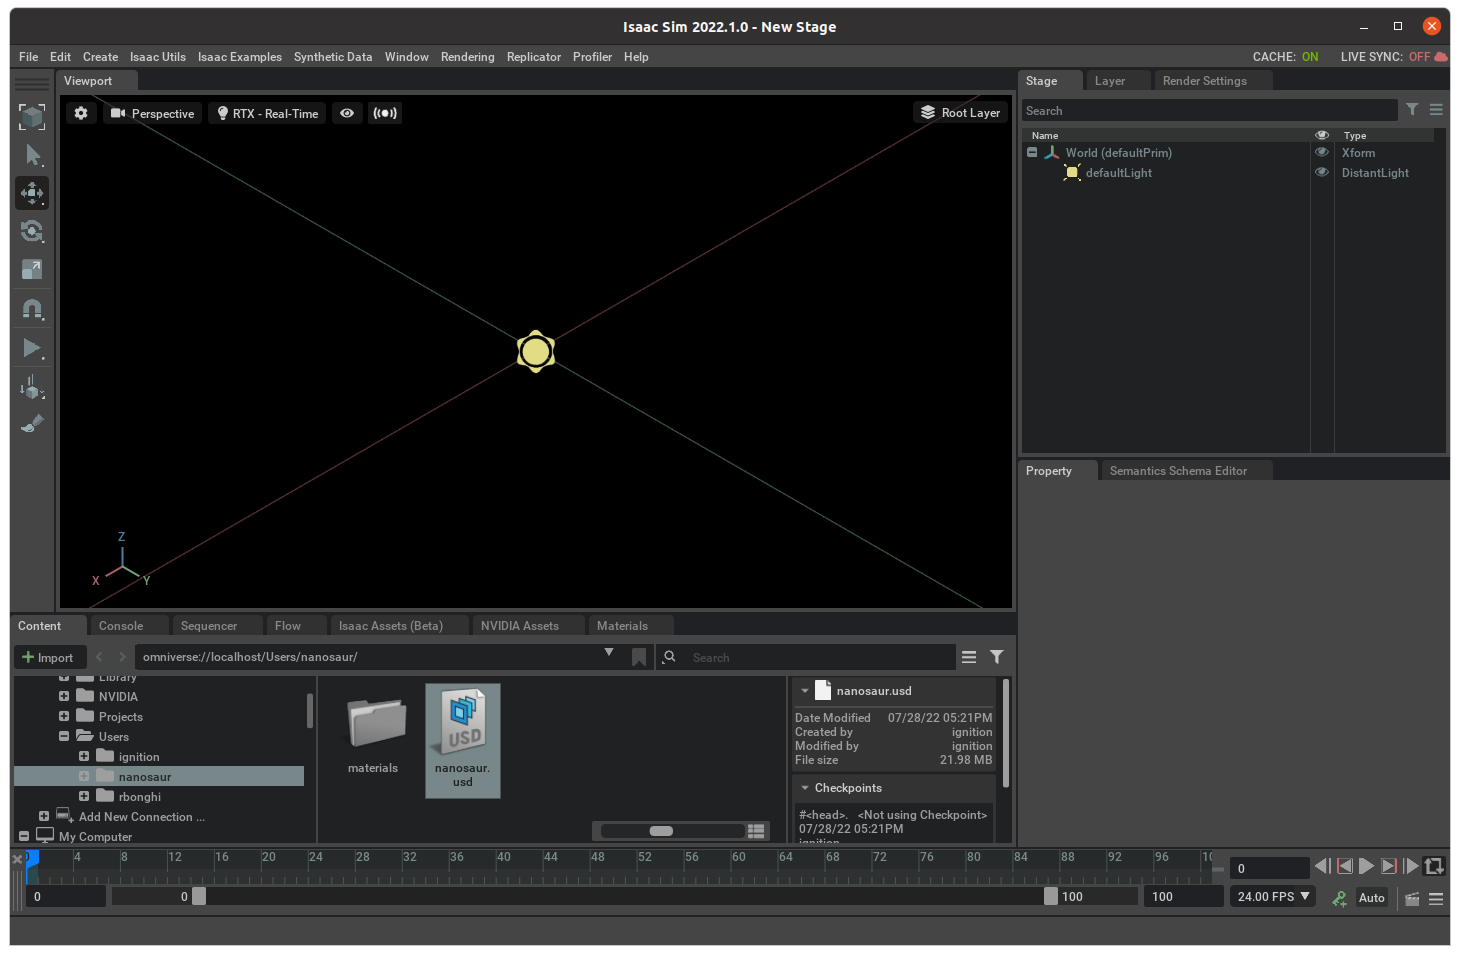
When the system is up, in the window “content” below, open from the Omniverse folder:
- Folder: Users/nanosaur/nanosaur.usd
Remember, if your user is different to find the right folder
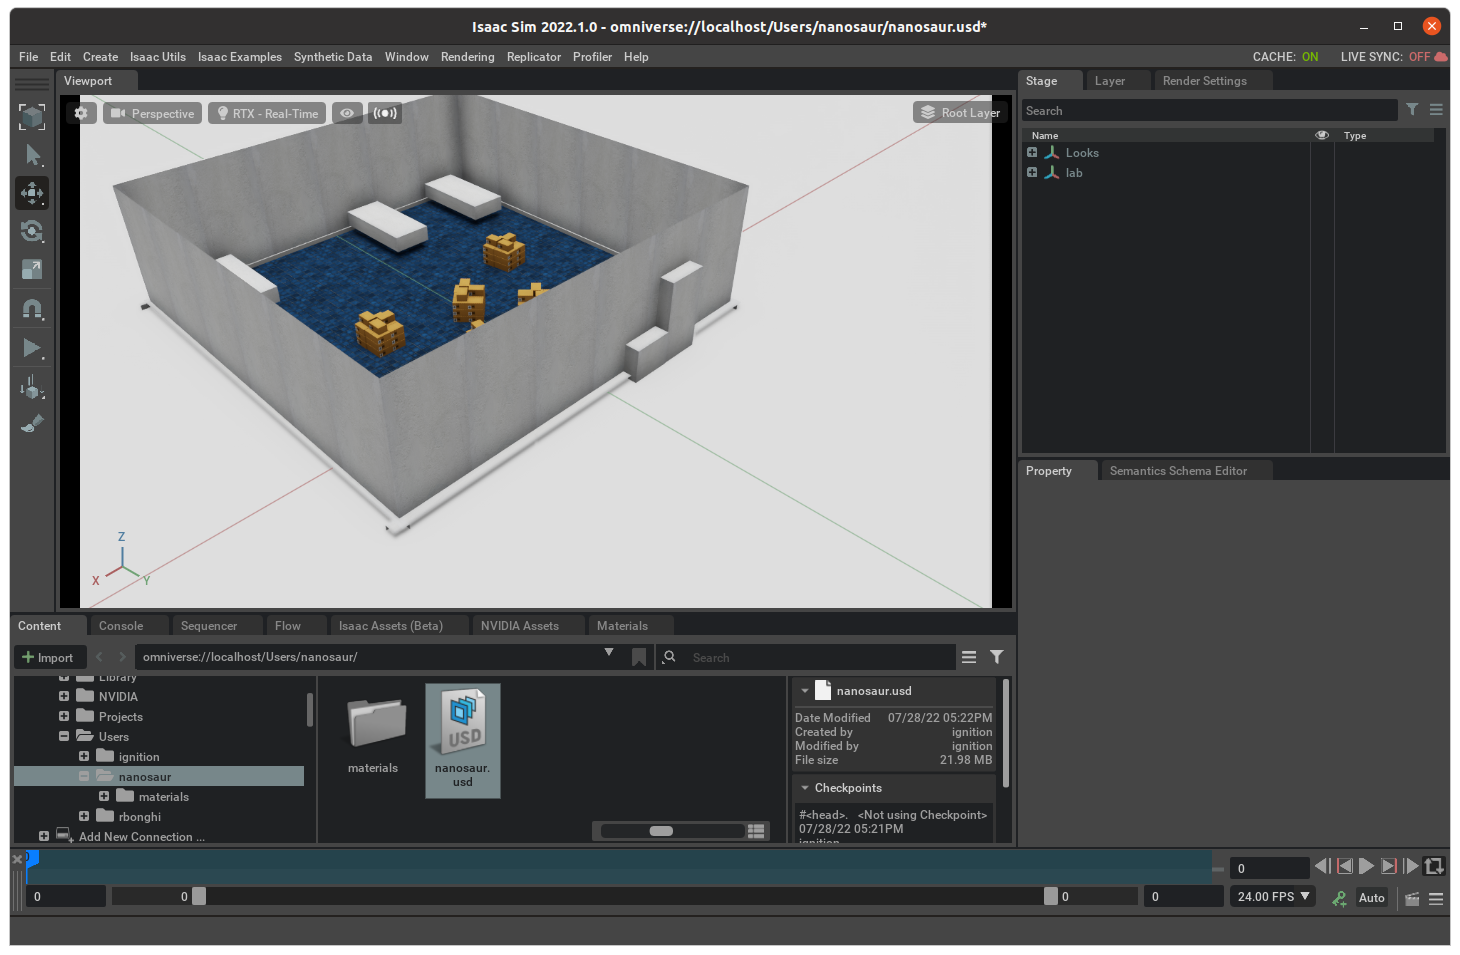
The output will be like the picture below
Now you need to enable the live sync on your simulation, to use realtime both simulation running at the same time
- On top right open the tab Layer
- Click on the cloud on right and chose Always on
- If appear “Merge Conflict” window, press Fetch Latest
Run perception
In your last terminal you need the perception module active
nanosaur perception
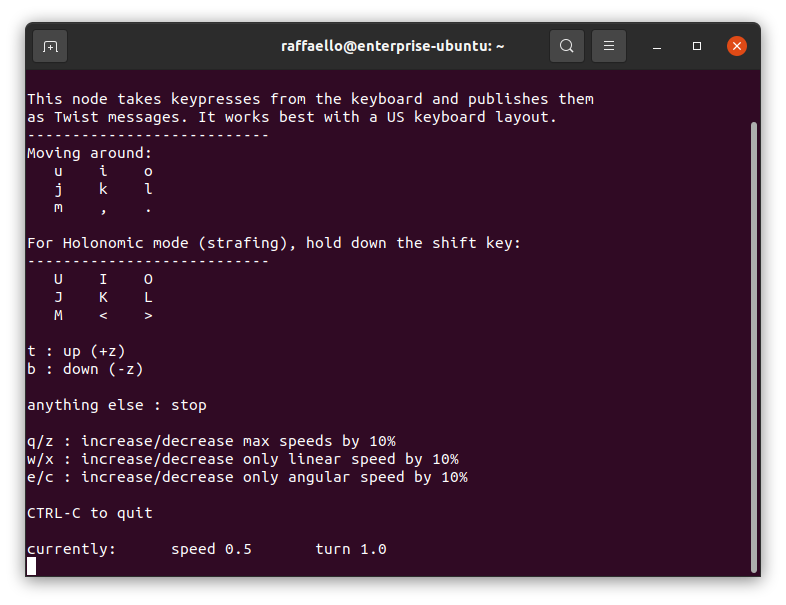
Drive nanosaur
If you want to drive nanosaur with your keyboard you need to write only
nanosaur teleop
Now you can drive nanosaur in simulation!